Top 10 Steak Grilling Tips (From a Real-Live Chef!)
If you think grilling a steak is as simple as slapping a piece of meat you bought at the supermarket on a grill and flipping it a few times, you’re missing out on what could be THE GREATEST STEAK OF YOUR LIFE.
Here are some grilling tips from an honest-to-goodness chef that’ll make your next steak meal your finest work ever.
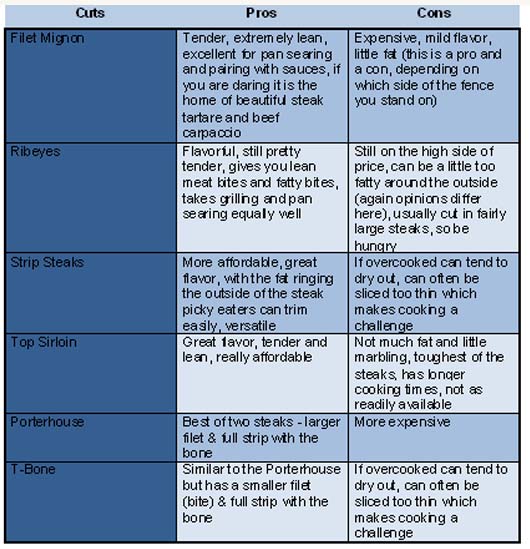
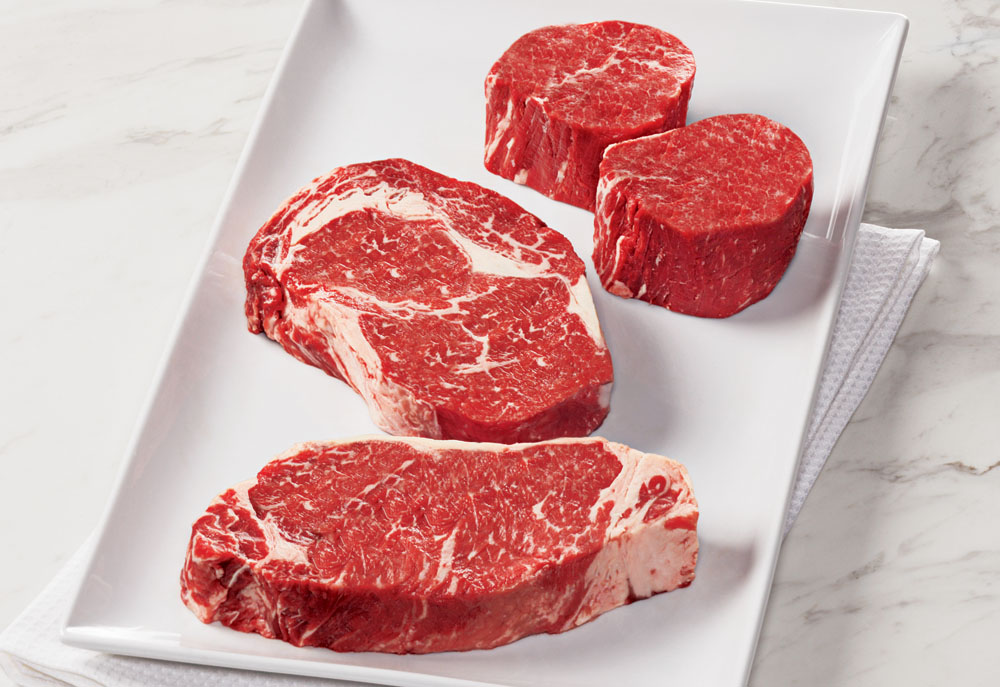
1. Choose the right cut of meat — Some cuts of meat are better for grilling than others. I, personally, prefer to grill strip steaks over other cuts because you get a nice combination of fat and meat for a great flavor. Filet mignon, on the other hand, I prefer to pan sear because it is so lean and I can add fat and flavors in the pan. Experiment! Ultimately, no one can tell you what you like, you have to find it for yourself. Here are the pros and cons of each cut:
2. Choose the right quality of meat — Nothing ruins a good steak dinner like a bad steak. A lot of places sell poor quality meat, so make sure you choose a reputable supplier so you know you are getting your money’s worth. I always find premium quality steaks online. By law, all meats are inspected for wholesomeness so no one is selling you meat that will kill you, but grading is a voluntary system. Meats are graded on several categories, including the marbling of fat and the amount of connective tissue. Sure, it may be fit to eat but do you want to eat it? Prime is the highest quality, followed by choice and select. Choice meats are very high quality steaks and the most common steak used in the restaurant industry. Here are a few pointers to track down the perfect quality & cut of steak:
- Get to know your butcher, call and ask when they receive orders
- Special order cuts you know you want
- Ask them to cut meat just for you (you’d be surprised what they will do for you)
- Order just the grade that you want
- Ask how long they keep their steaks if they don’t sell them
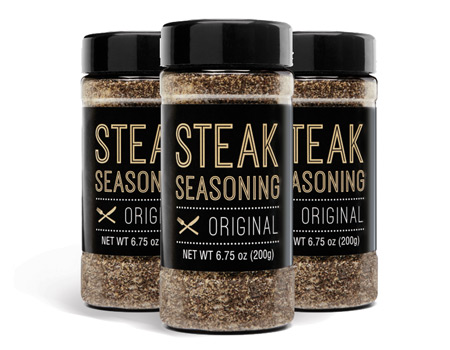
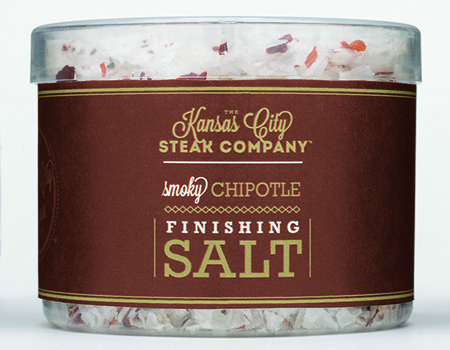
3. Season early — You should salt your meat even before you start your coals. If you throw salt on right before you put it on the grill you end up leaving salt all over the grill, not on your steak. So season your steaks about fifteen minutes before you put them on the grill. That gives the salt a chance to dissolve and evenly flavor your meat. Sea salt is all the rage now and chefs like to fancy up a plate by using specialty salts like Hawaiian Pink Salt or Fleur de Sel. Sometimes a little good salt is all that a steak needs.
4. Take ‘em out early — Let your steaks sit on the counter for at least twenty minutes. I know it doesn’t seem sanitary, but since steaks are whole muscles and you are cooking the outside well above safe levels, you won’t need to worry so much about food-borne illness. The problem with throwing your steaks on the grill right out of the refrigerator is that it will take them a lot longer to cook. Steaks at room temperature take seasoning better and will cook faster. Unfortunately, meat takes time to cook and if you are in too much of a hurry to cook it you are probably in too much of a hurry to really enjoy it. Take your time and learn to enjoy cooking your steak almost as much as eating it.
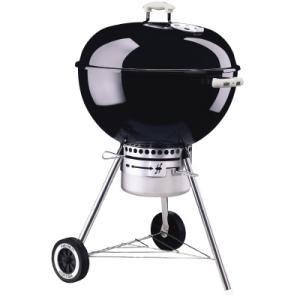
5. Use charcoal — Gas grills work great for cooking food but can sometimes impart a gas flavor to your meat. I like to use natural hardwood charcoal started in a chimney. Don’t use lighter fluid; it defeats the purpose of using hardwood charcoal. You want to smell the steak roasting over the coals – that is the best part! Some people swear by mesquite soaked in apple juice others say you cook your steak too fast to get any benefit. Wood chips can add flavor if you are smoking your meat but that usually takes a lot more time than it takes to grill a steak. My recommendation is that if you are curious, play around see if you can taste and enjoy the difference.
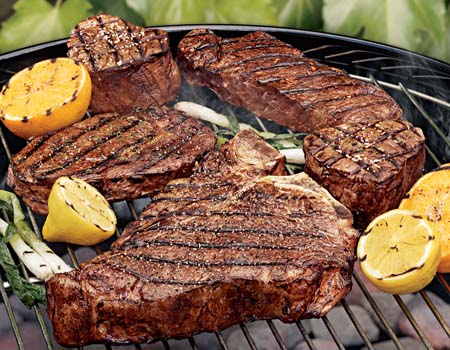
6. Hot coals — Set your coals up so that you have zones of cooking. Always start off on a hot spot. You want good color and flavor from the high heat. When you flip it, don’t put it down on the same spot as before — it will be cooler. Find another hot spot to continue getting good color and flavor.
7. Don’t touch it! — This is one of the biggest mistakes a home cook makes. Everyone wants to keep checking the food to see if it is done. Leave it alone. Know how thick your steak is and roughly how long it takes to cook. Flip it once and give it a quarter turn once on each side. The more you touch it the better chance you have of screwing it up. Check out this grilling chart as a guide on how to cook steaks:
Grilling Chart courtesy of www.kansascitysteaks.com
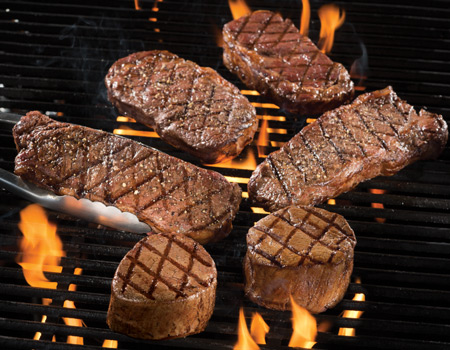
8. Make it pretty — Use the hot grill to create “cross-hatch” grill marks. Set your steak down at a 45-degree angle from your grill lines. About a quarter of the way through cooking, give it a quarter turn. Half-way through cooking, flip it once. Give it a final quarter turn for the last bit of cooking. When finished you should have a steak that looks like it belongs on a commercial. This might not be the most important thing in your day, but if you’re on a first date or trying to impress then try this!
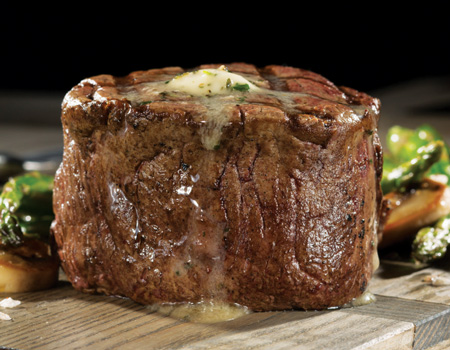
9. Leave it alone — There’s nothing worse than taking a beautiful steak and covering it with other flavors. Sauces, rubs and butters are fine but if I’m going to eat a steak I like to taste steak. If you are using a lesser cut of meat or poorer quality, marinades are a great tool. But we are talking steak here and all it needs is a little salt, pepper and some heat to cook over. So refer to rule #2 and source and buy only good quality meat.
10. Make all your condiments early — One trap many people fall into when they grill meat is trying to cook the rest of the meal at the same time. Your kitchen is inside; your grill (if you are following tip #5) should be outside. Don’t try to run between the two. You will only end up ruining your steak or your side dish — or both. Plan your meal to get your extras done early so you can focus solely on your grilling. I mean, it deserves it, doesn’t it? I like a simple compound butter made of softened, unsalted butter, garlic, a little red wine and some cracked pepper. Mix it all together, (in a mixer, if you can, so it is smooth), roll it in plastic wrap and put it in the fridge up to two weeks before you cook your steak. One pat on top of each steak can be a nice treat.
